Monday, August 26, 2013

How to use linux command-line...


What is Linux? 

First of all let me introduce to you what is Linux. Linux is a reliable, secure and flexible operating system. It's easier to use than most people think. It's easy to install and most of all its free. You can download different distros available on the internet. Linux distribution includes basic Linux operating system bundled with a number of free applications. Some of the free applications includes graphics and multimedia programs, fully featured office suite and many more. In these series of tutorial you will learn how to use linux and some of its basic commands.

The heart of Linux is the command-line interface. And here are the following steps that will teach you how to use it. As an introduction to command-line interface, these steps will teach you some of the basic commands needed to get around with what we call Terminal program. It is the standard command-line interface for Linux. Some of the basic commands I will teach you are pwd, ls and some of its options, touch, rm and clear.

Lets start:

Go to Application > Accessories > Terminal


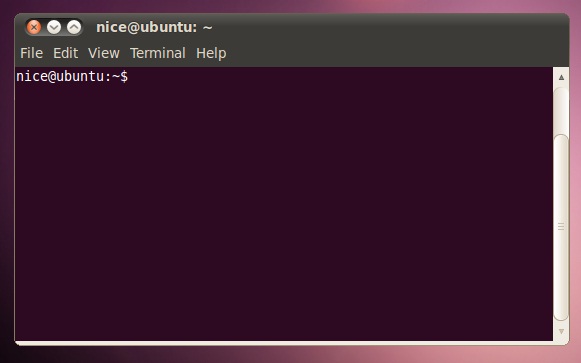
A terminal window will open.


First you have to know what directory you are in, in order to get around with the terminal.
On the terminal type the command "pwd" and press enter.

 pwd    -present working directory. Type this command and you will see the absolute path to your current directory.

Next command is "ls"

On the terminal type the command "ls" and press enter.

ls    -lists all files in the current directory.

This command is versatile when used with proper options. Perhaps the most important option is
"l", which will list all files in the directory, including size, owner and permissions.

 Lets try typing "ls -l" and press enter...


 Some other options that can be used with ls command are:

-a   Lists all files in the current directory, including hidden files.

-r   Lists in reverse alphabetical order all nonhidden files in the current directory.

-i   Lists files with inode numbers.

-t   Lists files by the last time they were changed.

-F   Lists all files by type.

-u   Lists files by the last time they were accessed.

Next command is "touch".

 touch    -This command creates an empty file.

On the terminal type the command "touch myfile.cpp" and press enter.

A myfile.cpp file will be created on your current working directory.
When you run the ls -l command on the myfile.cpp file, you will see the following output:


Next is the "rm" command.

rm   -remove/delete files and directories.

On the terminal type the command "rm myfile.cpp. This will delete myfile.cpp

Next command is

clear   -clears the terminal screen.

Just type "clear" on the command-line and press enter.

Hope this simple command will help you in learning the basics of linux command-line.

Watch this video for instructions...


Saturday, August 3, 2013

Share Internet Connection Wirelessly


These are easy steps on how to manually setup your computer to share your internet connection wirelessly. All you need is a desktop computer or a laptop with wireless adapter and a Windows 7 Operating System (note: does not work with Windows 7 Starter edition).

1. First let us enable ICS (Internet Connection Sharing) on WiFi adapter. 
In order to do this press Start, on the search bar type "ncpa.cpl" and press enter.


List of your wireless adapter should appear. 

2. Right click on your wireless adapter and click Properties.

on Wireless Network Connection Properties click on Sharing Tab
check the option "Allow other network users to connect through this computer's Internet connection"

and press OK. 

A new Network Connection (Miscrosoft Virtual Wifi Miniport Adapter) will be created.

Right click this new Network Connection and choose Enable. 


3. Right click your wireless adapter again and click Properties.
On sharing tab select this newly created Network Connection on Home networking connection drop down box.

4. Now click Start and search for "Command Prompt"
Right click Command Prompt and choose Run as administrator.

Now on the Command Prompt type the following...

netsh wlan set hostednetwork mode=allow ssid=xxxx key=xxxx

Note: Replace SSID (whatever you like to name your shared network)
and key (must be at least 8 characters - this will serve as password for the network)

After that, type

netsh wlan start hostednetwork

and press Enter.

"The hosted network started." message will appear on the Terminal.

Now get a Wi-Fi based device and scan for your newly created Network Connection and connect to it.

If you want to close the connection just type the following on the Command Prompt (again Run as administrator).

netsh wlan stop hostednetwork

and press Enter.

Watch video for instruction... 


Friday, August 2, 2013

Manually recover your files hidden by a virus...


It's very annoying when virus hide your files. But do you know its very easy to recover these files?
Here's how...

First you must be sure that your anti-virus software is updated. Scan your computer and after that follow these step by step guide.

1. press Start

2. click Computer (for Windows 7) or MyComputer (Windows XP)

3. click Organize (for Windows 7) or Tools (Windows XP)

4. Click Folder and search options (for Windows 7) / Folder Options (Windows XP)

5. On Folder Options click View Tab

click Show hidden files, folders, or drives
uncheck Hide protected operating system files

6. then Open your USB Flashdrive (make sure you have already removed the virus using your updated Antivirus before opening)
now you can see a hidden folder like this


open or double click this hidden folder and you will see your lost files

7. select all your files and click Cut

8. then go out of that hidden folder and Paste it

Now delete the hidden folder and your done!

Note: Don't forget to go back to steps 2 to 5 and follow these...
- click Don't show hidden files, folders, or drives
- check Hide protected operating system files

See video to follow instruction:


Surf & Learn!